To create or manage a Document Delivery form, click on Document Delivery from the admin screen. Click on New to create a new Document Delivery form.

Fill in the Introduction Details for the Document Delivery form.
A form can be saved and closed at any point in the creation process.
Name: Input a name for the Document Delivery form.
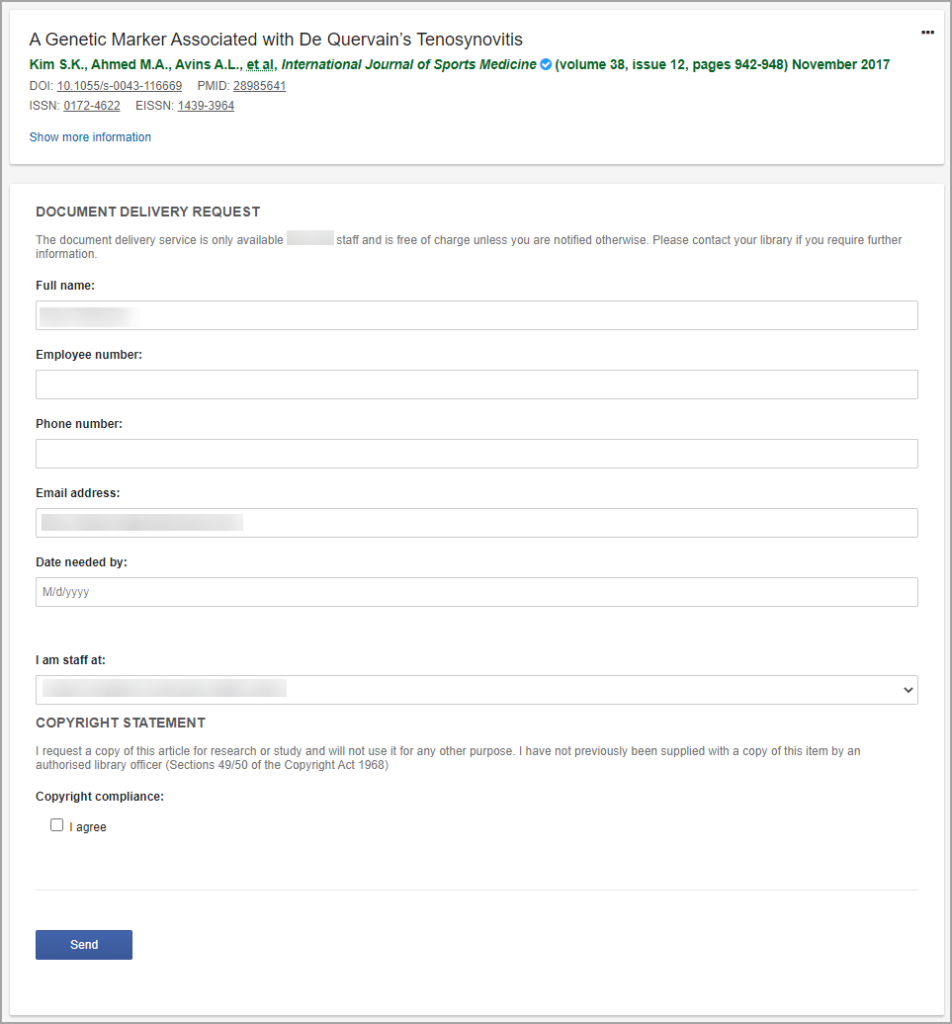
1) Introduction: The information added here will explain to the user the function of the form and any particular instructions they may need to take into account. From the introduction, accessibility can also be set.
The first 4 settings in the introduction tab will be displayed directly in the form:
The rest of the options are for the visibility and submission settings of the form:
Visibility - Allows or prevents users outside of your organization from using the form.
Use Captcha - Requires a CAPTCHA test to ensure the user is not a robot.
Allow Anonymous - Require users to be logged in or allow everyone to submit a form.
Auto submit - Allows the users to directly submit a form without any need for custom information. Available if the form has one Delivery Profile and all required fields have default values.
Check for duplicate orders - If the user has ordered the article before, this option will alert the user.
2) Build your form - add sections and fields to your form.
Click on Add Section to start building your form

Click on OK to confirm a Section. Sections can be added at any time by clicking on Add Section.
To add a new field, click the Add Field at the bottom right of the section to which you’d like to add a field.

Several options are offered for the type of information that the user is required to enter into the field.
If desired, the field can be set as mandatory, and users will be required to complete it before they are able to submit the form.
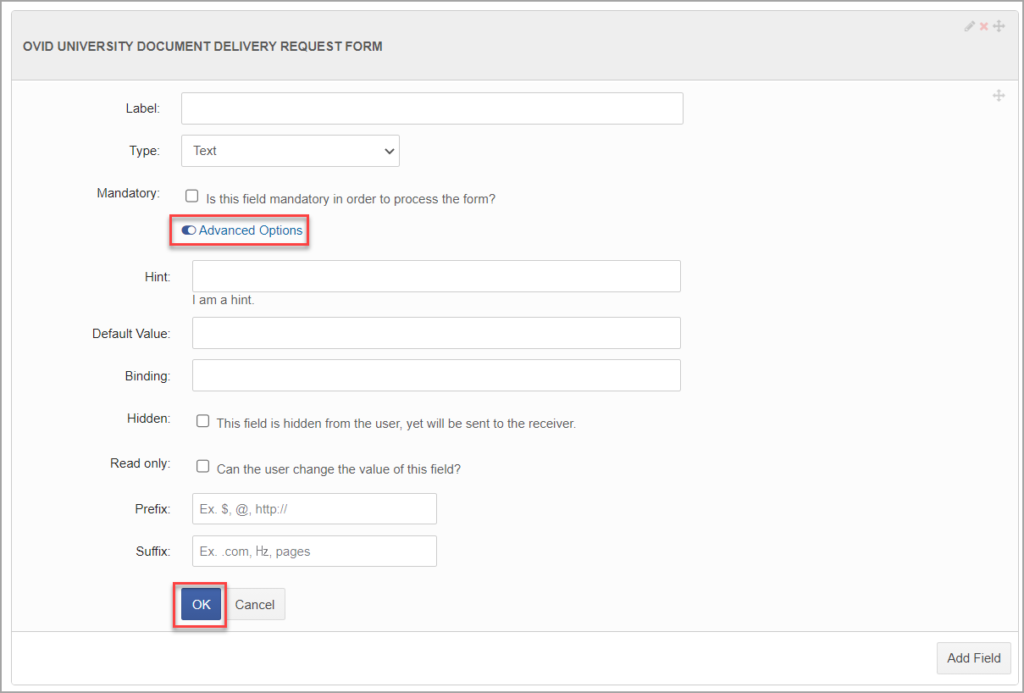
Advanced Options allow for further functionality of each field.
- Hint adds text underneath the field for the user to refer to while completing the field.
- Default Value automatically fills the field with information, such as information from the user’s personal accounts. $user$firstname adds the user’s first name, $user$lastname adds the user’s last name, and $user$email adds the user’s email address.
- Hidden hides the field from users while they complete the form but will be viewable by the recipient of the completed form.
- Read only stops users from altering the auto-filled content of a field.
- Prefix adds a prefix to the field.
- Suffix adds a suffix to a field.
Click on OK to confirm the Field.
3) Delivery Settings:
Delivery Settings allow directing where completed forms are sent.
Click on Add Profile and fill in the Display Name, select an After processing action and display a message and click OK. Click on Add Action.
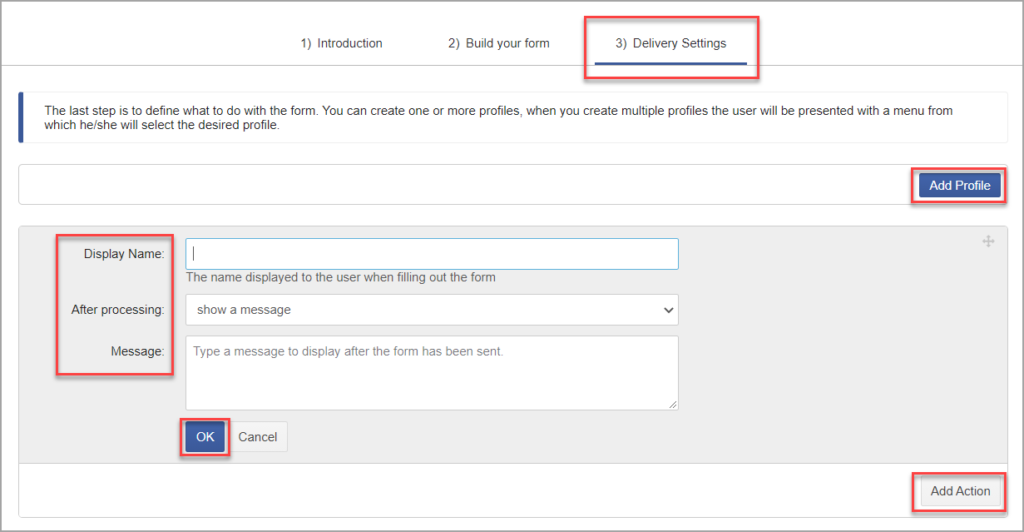
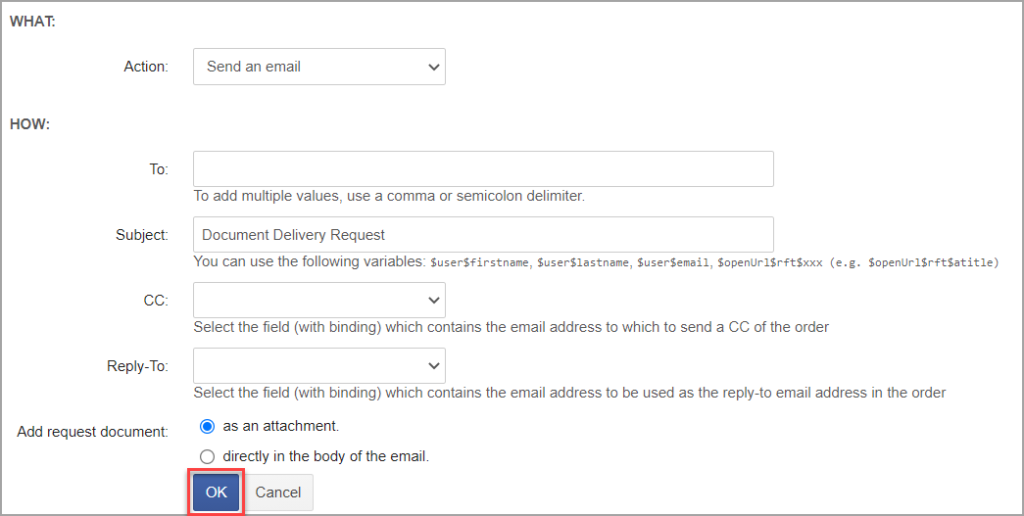
Confirm action details and click OK to confirm the details.
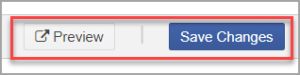
At any point during of the creation of the form, a preview can be generated by clicking on the Preview button. Click Save Changes to save the form.
When enabled, the Document Delivery form will only display if an article or document isn’t available in your library’s holdings.
TDNet Discover automatically imports article details into the Document Delivery form.
All Document Delivery requests are saved in Document Delivery Orders.